
 Delivery everywhere in Canada!
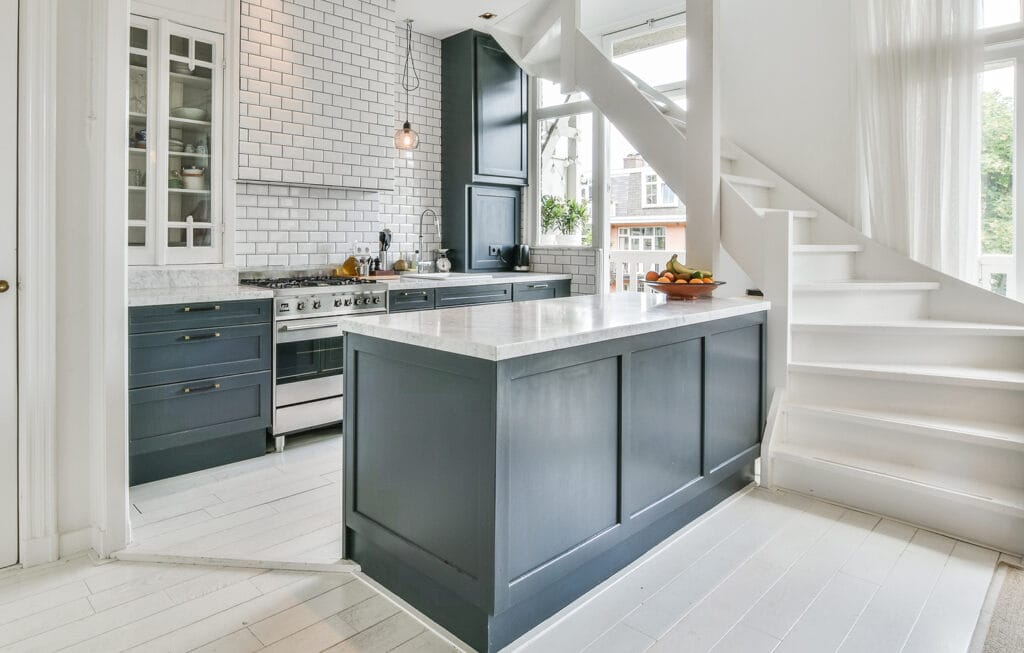
What are mouldings for?
Mouldings, in different forms, can be used in many ways. For finishing, they are installed to hide building materials and unsightly spaces, for example around a door.
In decoration, they add elegance and richness to the decor. Simply add crown mouldings (ogees) at the top of your walls: WOW EFFECT GUARANTEED!
See the Ogees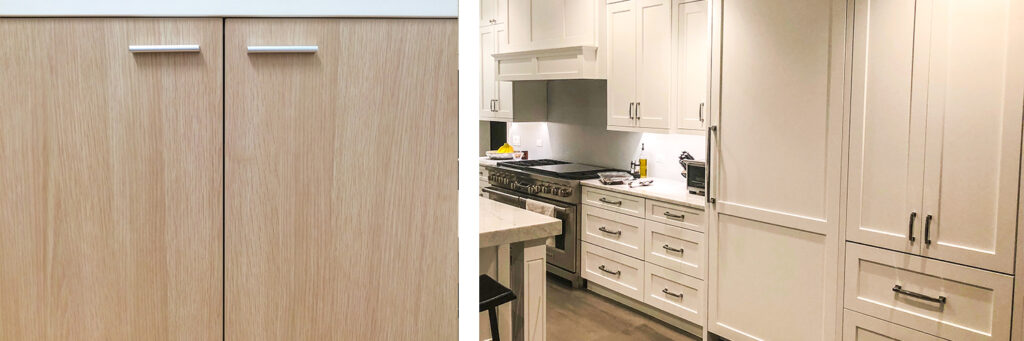
Project ideas?
Give your melamine kitchen cabinets a touch of style: adding Shaker style mouldings of a darker tone and opting for contemporary door handles can transform your kitchen completely for relatively little cost!
Add a cornice to the top of the storage cabinet you bought at a big box store. A brush stroke or two and presto, it fits into your new decor!
Create a caisson look on your lower walls. This involves installing a chair rail, then decorative mouldings to form several frames of the same width below the chair rail. Play with colour or add a tapestry inside the caisson frames for a cosy effect!
SEE OUR UTILITY AND DECORATIVE MOULDING INSPIRATIONS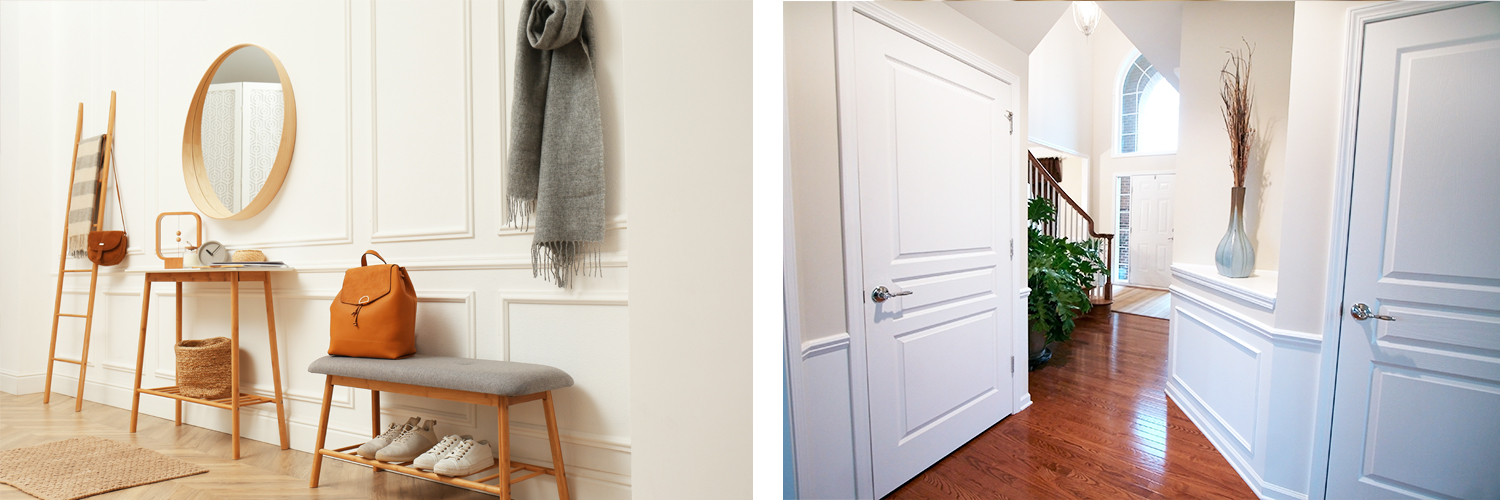
How high should I install a chair rail?
Chair rails are usually installed 36″ or 42″ from the floor. However, if you want to make the ceiling appear higher, simply install the chair rail 72 in. from the floor and paint the upper part of the wall and the ceiling the same colour.

How do I calculate the quantity of mouldings needed for my project?
To determine the quantity of mouldings needed, here are the calculations:
|
Moulding type |
Measurement to take |
|
Baseboards |
The perimeter of the room minus the width of the doors |
|
Door frames |
2 lengths of 7 or 8 ft + plus the measurement of the door header |
|
Window frames |
The total measurement of the window outline + 5% |
|
Ogees (and Convertible Ogees) |
The perimeter of the room + 10% |
|
Rails |
The perimeter of the room minus the width of doors and windows |
|
Mouldings to create caissons on walls |
Draw your wall caissons with masking tape; add the tape measurements + 5% |
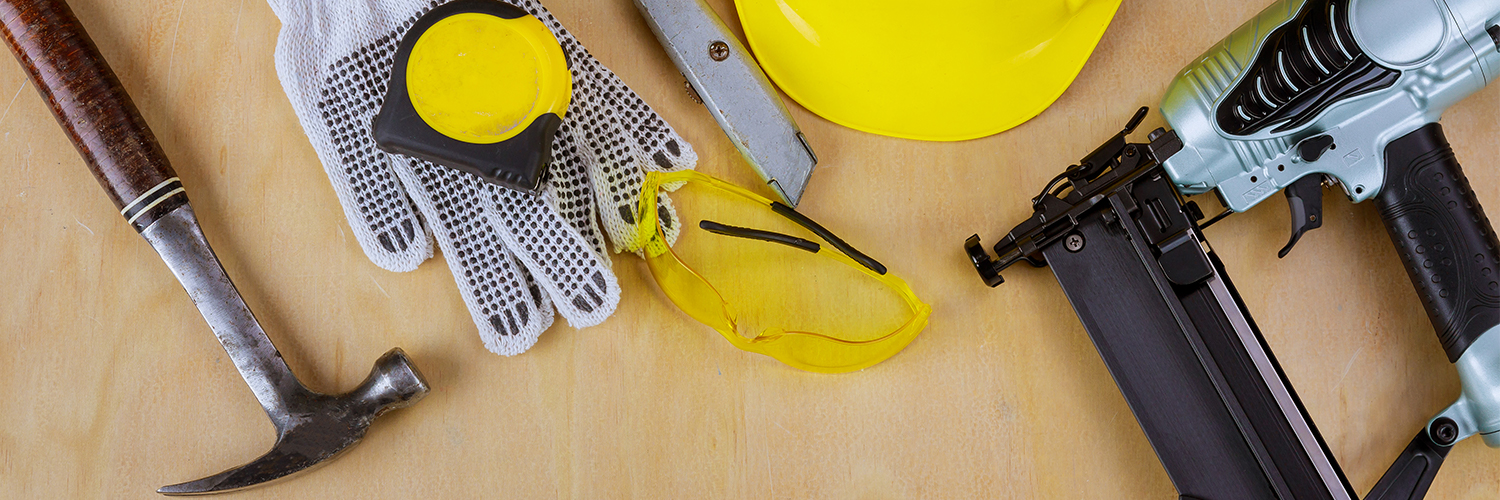
What tools do I need to install mouldings?
- A mitre saw or a mitre box with its saw
- A nail gun or a hammer and finishing nails
- A measuring tape, a square and a spirit level
- Masking tape, a pencil and paper
- Construction glue, a tube of filler and a small putty knife
- Sandpaper, primer, paint, paint brush and/or trim roller
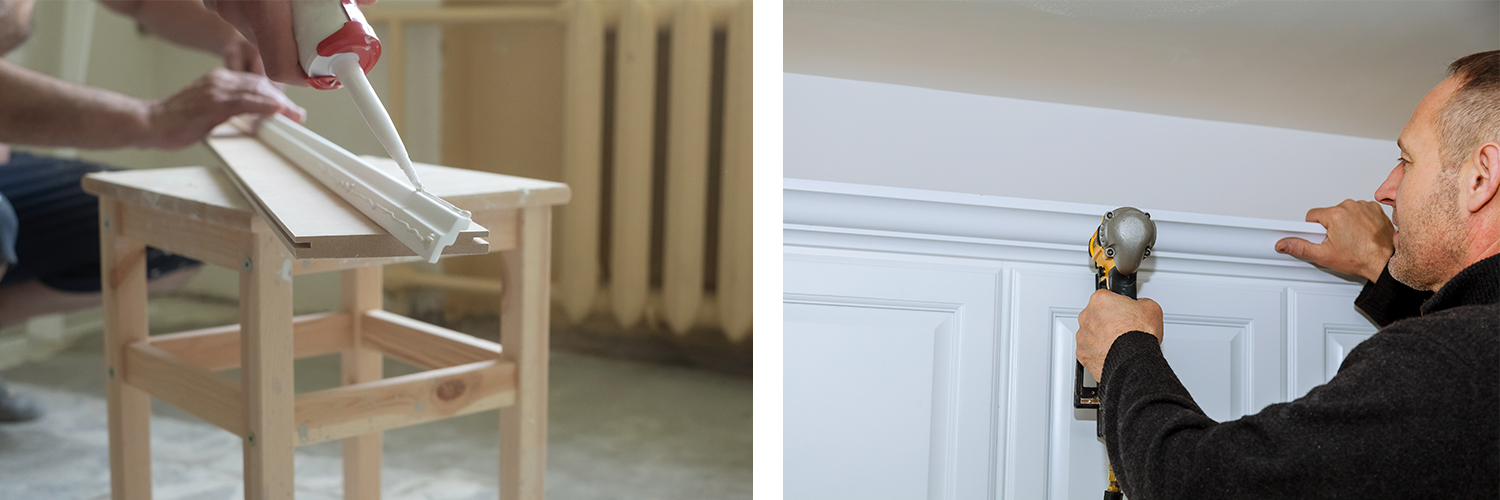
What are the steps for moulding installation?
- Prepare surfaces for painting: clean and then apply primer
- Take measurements and cut the mouldings to lengths for your project
- Apply glue to the underside of the mouldings, affix them in place and nail to secure
- Fill the holes and joint gaps with filler
- If necessary, sand lightly, apply primer when filler is dry
- Apply two coats of paint
Which paint finish is best for mouldings?
A glossy paint finish ensures a beautiful finish that enhances your mouldings. In addition, this finish makes trim easier to clean.
Order your mouldings online