
 Delivery everywhere in Canada!
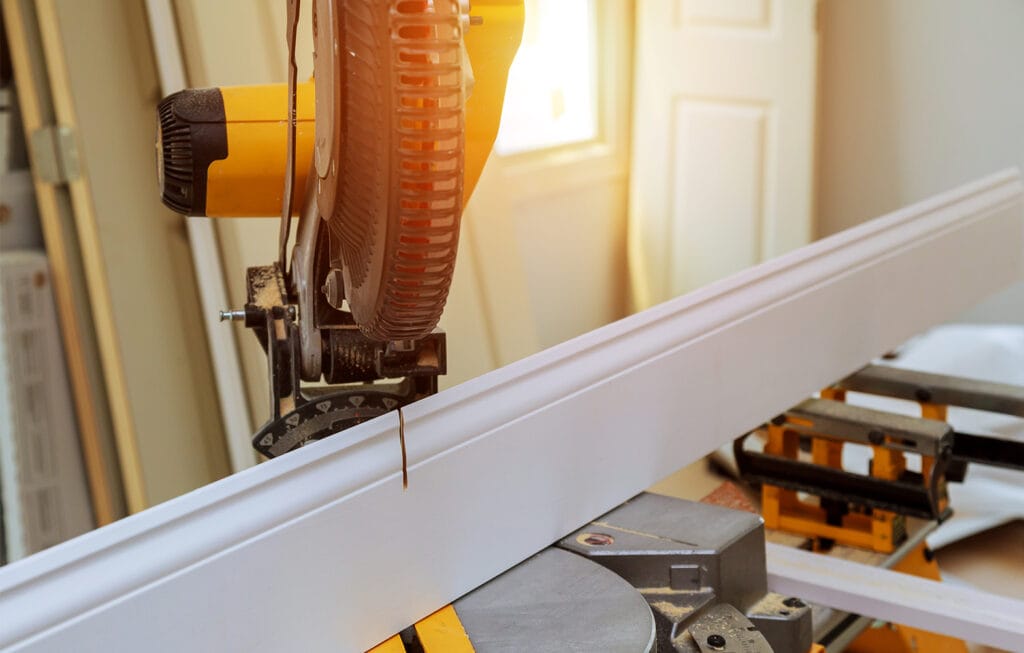
When it comes to interior decoration, mouldings play a leading role. Well chosen, cut and installed, they can hide imperfections on your walls and appreciably beautify your decor.
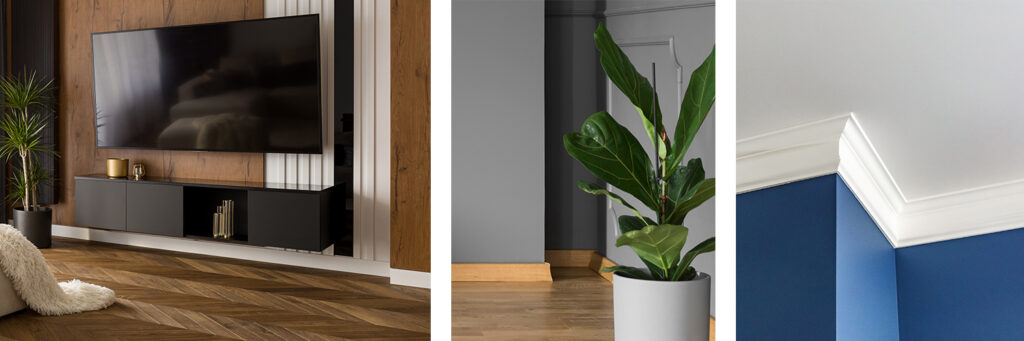
More and more homeowners are using them as decorative elements to enhance their interior design. Available in several models (wood, MDF, PVC, polyurethane, vinyl, plaster, etc.); mouldings come in different styles and sizes. They can be attached to doors, walls, ceilings, etc., depending on what purpose you are using them for.
In this article, we offer you some advice on how to choose your mouldings well and cut them properly.
The different types of mouldings: wood, MDF, PVC, etc.
Depending on the use of your mouldings (functional or decorative), the style you wish to give to your interior, your budget, your tastes, the height of your ceilings and the finish (paint or stain) of your renovation work, you can expect to choose one type of moulding over another.
One of the first questions you should ask to choose mouldings well is: “what is their primary function?”
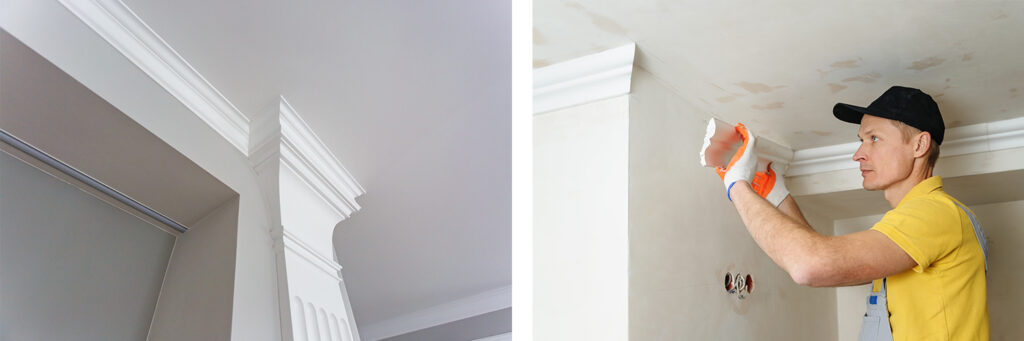
For example, the door frame moulding is used to conceal the framing that supports it, the baseboard at the bottom of the wall serves as a transition between the floor and wall, while the cornice moulding (also called ceiling moulding, crown moulding or ogee) is appreciated mostly for its decorative aspect.
There are generally three broad categories of mouldings: the functional ones, those enhancing the design, and the “decorative ones”, which are usually accompanied by rosettes and other decorative accessories.
See wood mouldings See MDF mouldings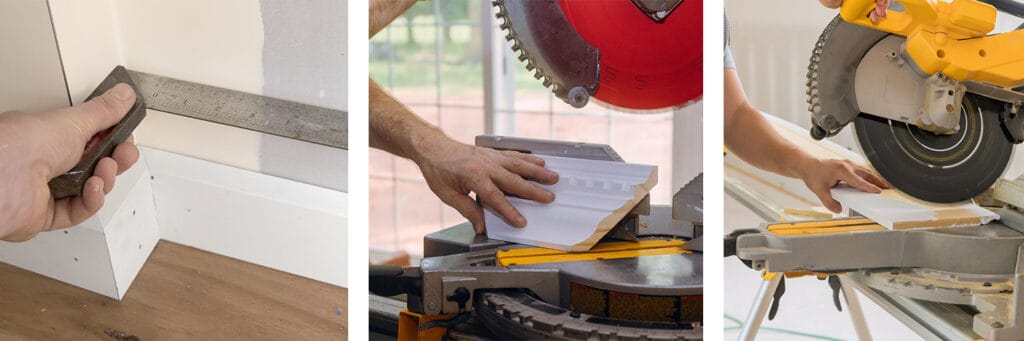
Tips for cutting them
Whatever the style of your mouldings, these basic tips will help you cut them properly using a mitre saw.
First of all, it is preferable to choose mouldings that are longer rather than shorter to reduce the amount of splicing to be done. After letting the mouldings rest for 24 to 48 hours in the room in which you want to affix them, choose the precise location where they will be installed.
To determine the length of the mouldings to be installed, measure your wall space precisely with a measuring tape, while remembering to subtract the lengths of wall sections which will not be decorated with woodwork, baseboards or picture rails. The more precise the calculations, the better the results.
See our tips to plan for the right quantity of mouldingsFor corner mouldings, measure the angle of your wall using a bevel protractor. Then adjust your mitre saw according to the measured angle. Transfer the angles to your saw using a sliding bevel and proceed to cut the trim. For best results, choose a good quality finishing blade. To avoid wood splintering, place your moulding upside down on the base of the saw when cutting.
Finally, remember to protect your eyes with safety glasses, your ears with earmuffs and your respiratory tract with dust masks. Ideally, carry out the work in a ventilated place and avoid wearing loose clothing or accessories that could get caught in the saw while doing the work.