
 Delivery everywhere in Canada!
Apply stain to coordinate your woodwork
Do you want to harmonize a piece of furniture, the staircase or the floor with the rest of the house? Applying a coloured stain is an excellent way to match different wood species, in addition to enhancing the beauty of their grains.

Water-based or oil-based stain, which to choose?
Stains are composed of two essential components: colour pigments or dyes combined with a solvent, which is either oil or water-based. When should you choose one over the other?
- Water-based stains offer several advantages: negligible odour, fast-drying, easy clean-up and a large range of colours.
- Oil-based stains, due to their longer drying time, allow for the staining of large surfaces without having to be concerned with visible brush strokes.
As a general rule, the larger the surface to be covered, the more we recommend using an oil-based stain.
See the wood stains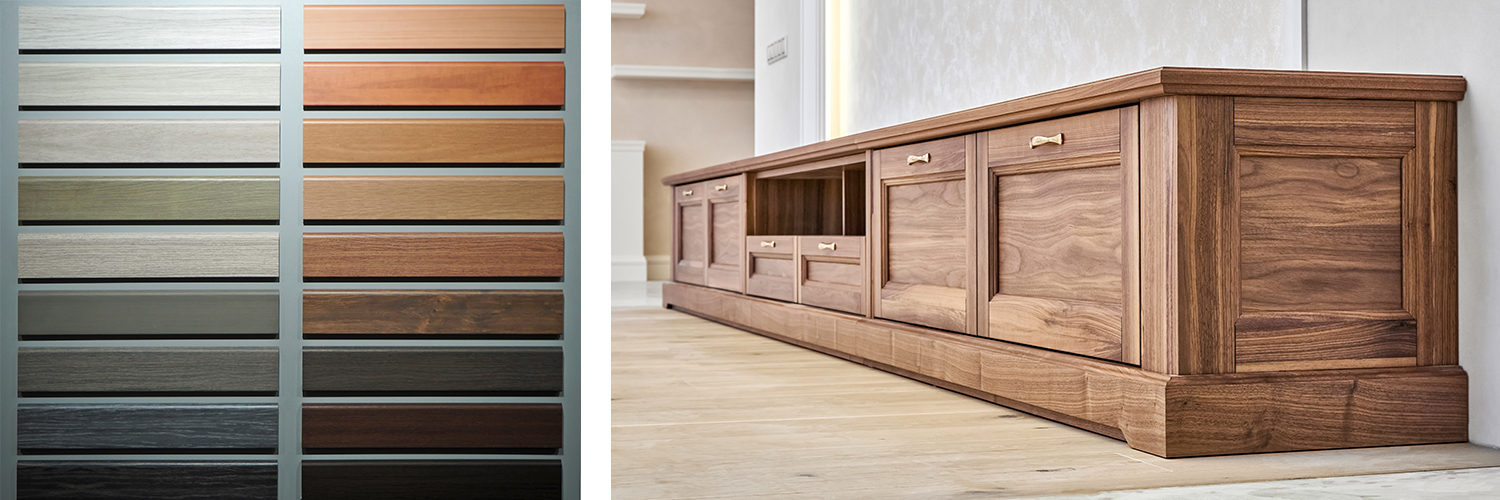
How to choose the right colour?
Since all wood species have their unique natural tint, it is recommended to keep this in mind when choosing a coloured stain. For example, brick red stain will not give the same effect on maple as it does on mahogany. Thus, we advise you to make a test on a small surface in order to confirm your choice of colour and achieve the desired result.
What steps does the project entail?
No matter what the size of the project, the three same steps are necessary to give a satisfactory result: surface preparation, application of the stain, and finishing.
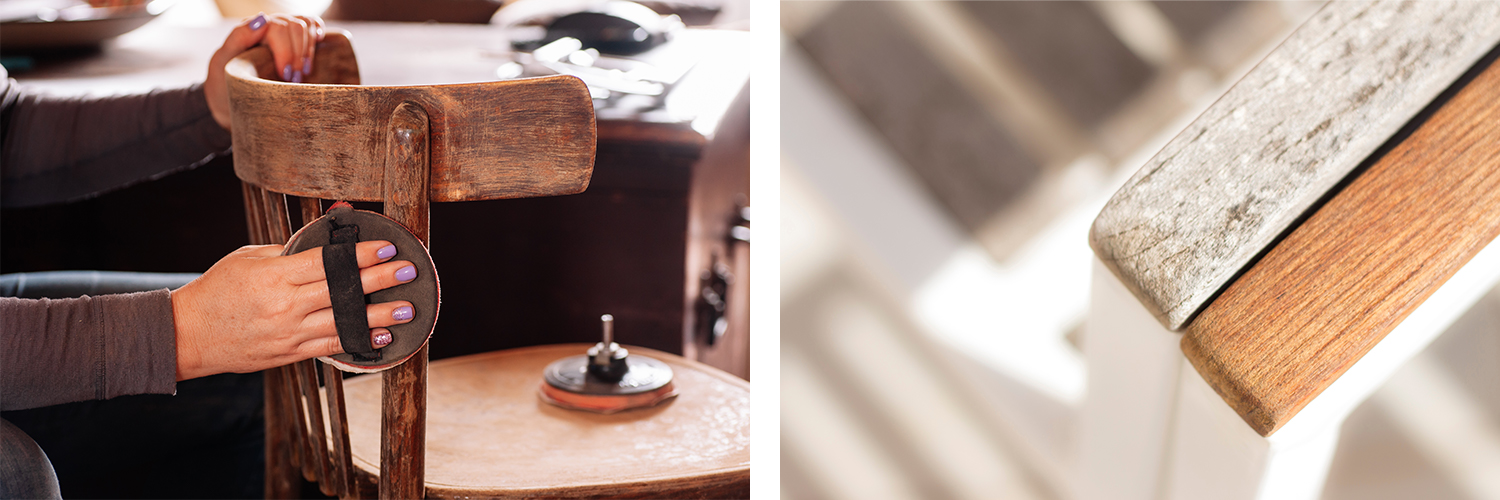
A. Surface preparation:
Before staining the wood, it is essential to sand the entire surface in the direction of the grain. An electric sander allows for more even work, in addition to speeding up the task. If there are repairs to be made, now is the time. If so, apply filler and wipe away the excess.
- Sand the wood with 120-grit sandpaper to remove residual varnish.
- Sand the wood with 220-grit to eliminate streaks from the previous sanding.
- Vacuum the surface to remove dust.
- Rub with a damp cloth. The water will open the pores of the wood and allow the stain to penetrate better, intensifying the chosen colour.
- Allow to dry, if necessary.

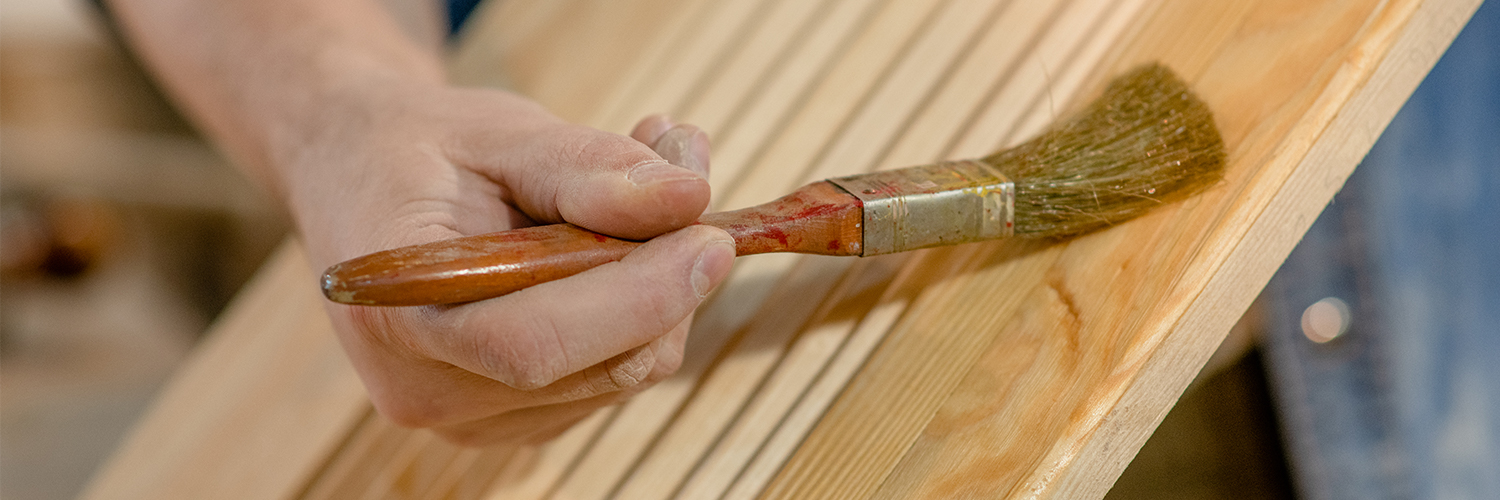
B. Applying the stain:
It is important to shake the stain container well before opening. This redistributes the pigments that might have settled to the bottom. Let stand 5 to 10 minutes before using.
- Using a sponge or cheesecloth, apply the stain using circular movements.
- Wipe away the excess stain in the direction of the grain with a dry white cloth.
- Allow to dry for 3 hours.
Repairs made with wood filler might require more coats of stain to yield a uniform result.
C. Finishing:
The stain has transformed the colour of your wood, but does nothing to protect it. To ensure the durability of your work, one or two coats of varnish are recommended, or three for high traffic surfaces such as stairs.
- Apply a coat of varnish with a brush or by using the Finitec applicator.
- Allow to dry for 1 hour*.
- Sand lightly with 220-grit sandpaper, in the direction of the grain.
- Remove the dust with a damp cloth.
For the second and third coats, repeat these four steps.
After application of the final coat:
- Allow to dry at least 3 hours before walking on the stained surface.
- Wait 10 days before cleaning the surface with a damp mop.
*NOTE: recommended drying times are only valid for products sold in-store.